
For years, there has been an unwritten hierarchy in the Vim/Neovim community: Linux > macOS >>> Windows.
If you’ve ever tried to set up a proper Neovim environment on Windows, you know the pain. You install Neovim, and immediately you’re hit with errors:
- “Treesitter requires a C compiler.”
- “Telescope is slow—where is ripgrep?”
- “Why are my file icons just empty rectangles?”
Compared to the brew install or pacman -S experience on Unix systems, Windows has historically felt clunky. However, with the maturity of Windows Terminal, PowerShell, and package managers like Scoop, that era is over.
Today, we are going to build a blazingly fast, modern IDE experience on native Windows using LazyVim. No WSL2 required, no virtual machines—just pure, high-performance editing.
Why LazyVim?
If you want to write code rather than spend weeks writing Lua configuration scripts, you need a “Neovim Distribution.”

LazyVim is currently the gold standard. It is built on top of lazy.nvim (the fastest plugin manager) and offers:
- Incredible Speed: Plugins load lazily (on-demand).
- Sane Defaults: It comes with pre-configured LSP, formatting, linting, and syntax highlighting.
- Modern UI: It looks beautiful right out of the box.
Phase 1: The Toolchain (The Secret Sauce)
The #1 reason Neovim setups fail on Windows isn’t Neovim itself—it’s the missing dependencies. To manage these gracefully, we will use Scoop, a command-line installer for Windows.
1. Install Scoop
Open PowerShell (not cmd.exe) and run:
powershell
Set-ExecutionPolicy RemoteSigned -Scope CurrentUser
irm get.scoop.sh | iex
2. Install the “Essentials”
We need to install Neovim, a C compiler (for Treesitter), and the search tools that power the interface. Run this command:
powershell
scoop bucket add extras
scoop install neovim gcc ripgrep fd lazygit make
Why do we need these?
gcc: Crucial.nvim-treesitterneeds this to compile language parsers. Without it, you get no syntax highlighting.ripgrep(rg): Powers the Telescope fuzzy finder. It makes searching through thousands of files instant.fd: A faster alternative to thefindcommand.lazygit: A terminal UI for Git. LazyVim integrates this perfectly.make: Required to build extensions liketelescope-fzf-native.
3. Terminal & Fonts
Do not use the legacy Command Prompt. Download Windows Terminal from the Microsoft Store.
Next, Neovim needs a Nerd Font to render icons properly.
- Download a font like JetBrainsMono Nerd Font.
- Install it in Windows.
- Open Windows Terminal Settings -> Defaults -> Appearance, and set the font to the one you just installed.
Phase 2: Installing LazyVim
With the environment prepped, installing LazyVim is trivial.
1. Back up existing configs
If you have tried Neovim before, move your old config out of the way:
powershell
mv $env:LOCALAPPDATA\nvim $env:LOCALAPPDATA\nvim.bak
mv $env:LOCALAPPDATA\nvim-data $env:LOCALAPPDATA\nvim-data.bak
2. Clone the Starter Template
powershell
git clone https://github.com/LazyVim/starter $env:LOCALAPPDATA\nvim
3. Detach from the Upstream Git
Remove the .git folder so you can make this your own repository later:
powershell
rm -Recurse -Force $env:LOCALAPPDATA\nvim\.git
4. Launch
Type nvim in your terminal.
You will see LazyVim pulling down plugins. Be patient. Once it finishes, you will be greeted by the dashboard.
Phase 3: Troubleshooting Windows “Gotchas”
Even with a perfect setup, Windows can be quirky. Here is how to solve the most common issues.
Issue 1: Treesitter / Parser Errors
Symptom: You open a Python or C++ file, but there is no highlighting, or :checkhealth reports that cc or gcc is missing.
Fix:
Verify you installed gcc via Scoop (gcc --version).
If it’s installed but still failing, force a reinstall of the parser inside Neovim::TSInstall python (or whatever language you are using).
Issue 2: Telescope FZF Build Failure
Symptom: An error on startup saying telescope-fzf-native failed to build.
Fix:
This happens because Windows has trouble compiling the C extension automatically sometimes. Go to the plugin directory and build it manually:
powershell
cd $env:LOCALAPPDATA\nvim-data\lazy\telescope-fzf-native.nvim
make
Note: This requires the make and gcc tools we installed earlier.
Issue 3: Clipboard Sync
Symptom: Copying in Neovim (y) doesn’t let you paste (Ctrl+V) in your browser.
Fix:
Neovim usually detects win32yank.exe automatically.
Run :checkhealth and look at the Clipboard section. If it says “No clipboard tool found,” ensure you are on a recent version of Neovim. Scoop usually handles this pathing automatically.
Issue 4: Weird Characters in PowerShell
Symptom: The TUI looks broken or characters are misaligned.
Fix:
Force PowerShell to use UTF-8. Add this to your PowerShell Profile (code $PROFILE):
powershell
[Console]::InputEncoding = [Console]::OutputEncoding = [System.Text.Encoding]::UTF8
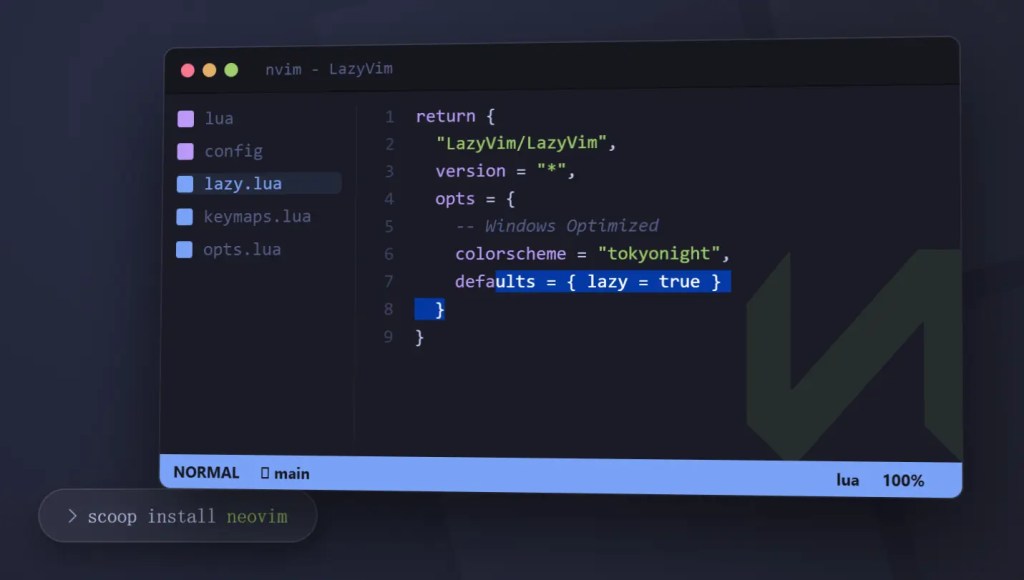
Phase 4: Customization
LazyVim is designed to be extended. Your config lives in $env:LOCALAPPDATA\nvim\lua.
Changing the Color Scheme
Create a file at lua/plugins/colorscheme.lua:
lua
return {
  -- Add the theme plugin
  { "catppuccin/nvim", name = "catppuccin", priority = 1000 },

  -- Configure LazyVim to load it
  {
    "LazyVim/LazyVim",
    opts = {
      colorscheme = "catppuccin",
    },
  },
}
Adding Keymaps
Edit lua/config/keymaps.lua. For example, to map jj to Escape:
lua
local map = vim.keymap.set
map("i", "jj", "<Esc>", { desc = "Escape insert mode" })
Conclusion
Setting up Neovim on Windows doesn’t have to be a nightmare. The combination of Scoop for dependency management and LazyVim for the editor configuration provides an experience that rivals any Linux setup.
You now have a keyboard-centric, lightning-fast IDE that runs natively on your OS. Stop fighting your tools and start coding.
Happy Hacking! 🚀


Leave a comment